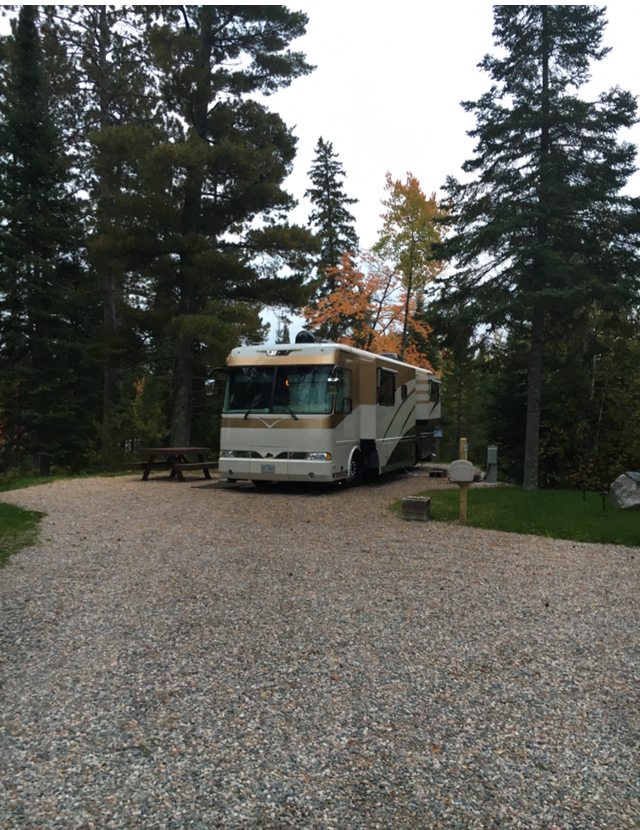
 In October, the days are getting shorter and cooler, and Jack Frost might be making his first appearance this year (in Minnesota, you can be pretty certain). Campgrounds have closed for the season in most places, but others offer discounts on late season rates and are even open on winter weekends. The time has come to pack your RV away if you are a seasonal camper.
- Ensure that the fresh water holding tank is drained and that the black holding tank, grey holding tank, and black holding tank are all flushed. Some RVs have built-in systems; others need to be cleaned out with a wand. Once you’ve added antifreeze to the water heater, do not drain it. Once the tanks are empty, flush the toilet a few times, open all the faucets, and open all the faucets in the RV. Blowing through the water lines should be followed by flushing the toilet again. Make sure all drains and faucets are closed.
- Antifreeze should be added to the plumping system. In RVs that have their own indoor plumbing systems, antifreeze is required. An outdoor hand pump or a water conversion kit can be used for this. To avoid using too much antifreeze, bypass your water heater, if possible. Pressurize your system by using the water pump. Open the cold and hot faucets until antifreeze appears. Keep repeating until it appears from all faucets. Finally, flush the toilet a few times until it appears. Stop the water pump and open a faucet to let pressure go. Flush a little antifreeze down each drain and into the toilet. Flush the toilet until it reaches the holding tank. You may need to winterize other components of your RV, such as the washing machine. Consult your owner’s manual for more information.
- Cleaning is necessary. You should also clean the refrigerator thoroughly while you are taking everything out. Old food and sticky drinks lying around for months will attract pests. Likewise, cupboards and drawers will attract pests.
- Vents and holes should be covered. There are vents around appliances, roof vents, roof vents, as well as larger spaces such as around doors. Some areas can be covered with a sheet of plastic and secured with tape (which won’t damage the RV’s interior surfaces). Other areas might require you to place a temporary cover underneath an existing cover; however, you must remember to remove the temporary cover once the RV is ready to use.
- Rodent control and pest prevention. Your RV will sit unattended for about three months, so small furry animals can shelter there during the winter. Electrical wiring and even flooring can be damaged if rodents chew on your electrical wiring. As described in #4, covering vents and holes is essential, but you may need to get under your RV to search for small holes, about the size of a penny, and fill them with aluminum or brass wool. Inside, you can think about putting out moth balls (there is disparity over whether this actually works) or setting traps, but your RV might not smell the best when you open it back up in the spring – peppermint oil may also provide a solution and give your RV a nice scent. In the spring, you’ll need to be on the lookout for insect infestations such as bees, ants, and spiders. Set bait strips and traps in areas where these insects are likely to be found. By cleaning your RV well and tightly sealing it up, you can prevent insects as well.
- Propane tanks should be filled or removed. Before storing containers, fill them up with water to help them withstand the elements. Make sure the water supply is turned off and the containers are covered. The removable tanks can be removed, covered, and stored in an area outside your RV. Propane odorizers are often drawn to by pests like spiders, especially since they are citrus scented. By removing them, you can help prevent their presence in your RV.
- Power supply. Ensure that the 12-volt battery is fully charged before storage, and that the water level is full. Remove it and store it somewhere warmer and dryer if it is too cold . Flip off the main break switch on the RV. Turn off all electronic devices, such as appliances and alarms. You can find detailed instructions on how to use your generator in its manual.
- It’s tire time. Read on for information about extending the life of your tires. Tires still age when they are not used, even when they are stored. To offer additional support, use a leveling system on your RV. Outside jacks and blocks should also be considered. During the winter, move the RV once or twice so the weight is distributed evenly over the tire’s surface.
- Maintenance of the engine. Gasoline or diesel tanks can be topped off and stabilizing fuel can be purchased at most auto and RV supply stores. Antifreeze should be added to the radiator. In the winter, if possible, check the fluid levels of the windshield wipers, brakes, and oil, and top them off as needed.
- RVs need to be covered. Whether your RV is going to be stored in an old barn or left outside in the elements, consider covering it. Tarps can keep off dust and grime, but breathable materials are better suited to keep out snow and dust. Keeping the cover on will help reduce the chances of mold and mildew growing.
Winterizing your RV properly and taking preventative measures are essential. If you want to winterize your RV, don’t take the easy route. By taking proper care of your car now, you will be prepared for when the season returns.


Recent Comments